
Yesterday, I saw a sink hanging loose in a kitchen. The owner told me, “I tried to fix it myself… now it leaks worse.” I smiled because I’ve been there too. The good news? Learning how to install a kitchen sink isn’t as hard as it looks—if you follow the right steps.
I’ve done this job for over 15 years, and I’ll walk you through it like I would if we were standing in your kitchen together.
🛠️ How to Install a Kitchen Sink (Step-by-Step Guide)
Step 1: Get Your Tools Ready
Before you start, grab:
- Wrench
- Putty knife
- Plumber’s putty
- Silicone seal
- Towels (trust me, you’ll need them)
Pro Tip: I always keep a bucket under the sink. Even when you think the water is off… it’s not fully gone.

Step 2: Turn Off the Water
- Look under your sink. You’ll see two small valves. Turn them off.
- Now open the faucet. Let the water drain out.
- Have you ever skipped this step? I did once. Big mistake. Water everywhere.
Pro Tip: If the valves are stuck, don’t force them. Turn off the main water line instead.

Step 3: Remove the Old Sink
Here’s what I do:
- Disconnect water lines
- Remove drain pipes
- Loosen clips under the sink
- Cut old seal with a knife
Then gently lift the sink out.
The catch is… some sinks are glued tight. You may need to wiggle it a bit.
Pro Tip: Take a photo before removing pipes. It helps when putting things back.

Step 4: Clean the Area
Once the old sink is out, clean the surface.
Remove:
- Old glue
- Dirt
- Water stains
You want a smooth area.

Pro Tip: I use a simple cloth and a bit of soap. No need for fancy stuff.
Step 5: Test Fit the New Sink
Place the new sink into the hole.
Does it fit?
- Too tight → trim the hole
- Too loose → you may need support
This step matters more than people think.
Pro Tip: Don’t skip this. I’ve seen people seal the sink… then realize it doesn’t fit right.

Step 6: Install Faucet and Drain First
Before placing the sink fully, install:
- Faucet
- Drain strainer
- It’s much easier outside the counter.
- I learned this the hard way, lying under a cabinet for an hour.
Pro Tip: Tighten by hand first, then use a tool. Don’t over-tighten.
Step 7: Apply Seal
- Add a thin line of silicone around the edge.
- This keeps water from leaking under the sink.
- Have you ever seen water damage under a sink? That’s usually why.
Pro Tip: Less is more. Too much seal makes a mess.
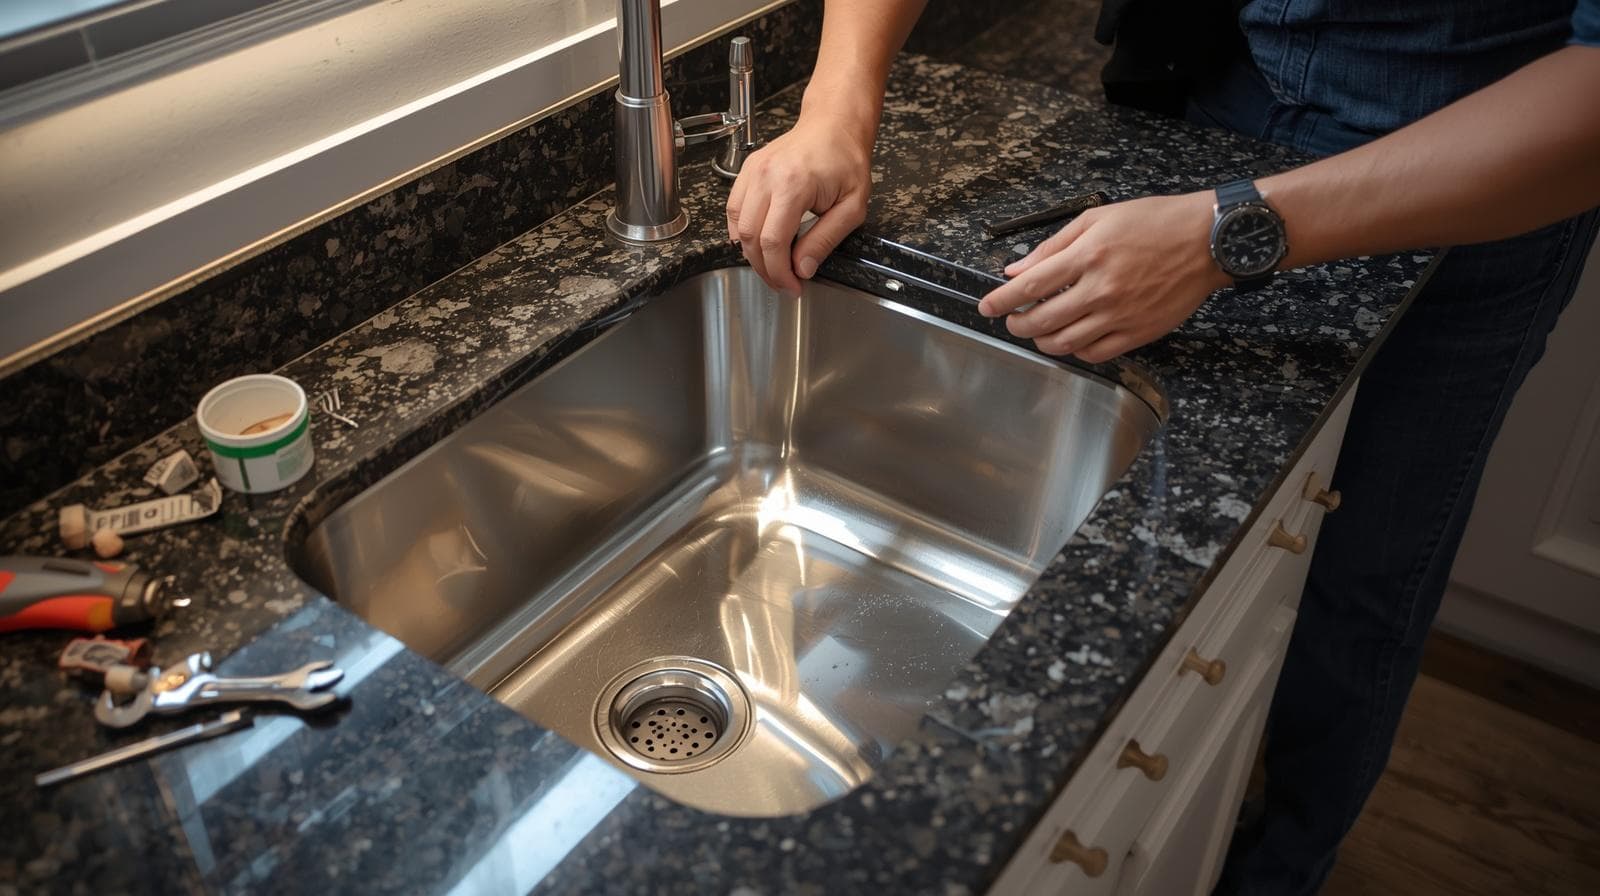
Step 8: Set the Sink in Place
- Carefully place the sink into the hole.
- Press it down evenly.
- Attach clips from below to hold it tight.

Pro Tip: Ask someone to hold the sink while you secure it. Makes life easier.
Step 9: Connect Water Lines and Drain
Reconnect:
- Hot and cold water lines
- Drain pipe
- Garbage disposal (if you have one)
Take your time here.
Pro Tip: Wrap plumber’s tape on threads to stop leaks.
Step 10: Check for Leaks
- Turn the water back on.
- Let it run.
- Look under the sink.
- See any drips?
- Fix them now.
Pro Tip: Run water for 5 minutes. Some leaks show up late.
⚠️ Safety First
I’ve seen small jobs turn risky.
Keep this in mind:
- Wear safety glasses
- Don’t force stuck pipes
- Keep tools dry
- Turn off power if working near disposal
Pro Tip: Never rush. Most mistakes happen when you’re in a hurry.
🔑 Quick Summary
So, that’s how to install a kitchen sink in simple steps:
- Turn off water
- Remove old sink
- Clean the area
- Test fit new sink
- Install faucet first
- Seal and place sink
- Connect pipes
- Check for leaks
Take it slow. You don’t need to be a pro.
If you’re still unsure, ask yourself: “Can I follow simple steps and stay patient?”
If yes—you can do this.
And if something feels off? It’s okay to call help. Even after 15 years, I still double-check my work.
That’s how you get it right 👍
FAQ: Kitchen Sink Installation
Most installations take 1–2 hours for experienced DIYers.
Yes. Drop-in sinks are beginner-friendly if you follow step-by-step instructions.
Usually no. The sink rim rests on the countertop for support.
Use plumber’s putty for drains and silicone for sealing the sink edge.
