
Is your kitchen faucet leaking, loose, or hard to turn? That drip sound can waste water and raise your bill fast. The good news? You can fix it yourself in about one hour.
Replacing a kitchen faucet is simple if you follow the right steps. I’ve done this many times in my own home. Let me walk you through it in easy words.
Quick Answer
To replace a kitchen faucet:
- Turn off water under the sink.
- Disconnect water lines.
- Remove old faucet nuts.
- Clean the sink surface.
- Install the new faucet.
- Connect water lines.
- Turn water on and check for leaks.
Time needed: 45–60 minutes
Skill level: Beginner friendly
Why Do You Need to Replace a Kitchen Faucet?
Many people search for how to change kitchen faucet because of these common problems:
1. 🚰 Faucet Is Leaking
A drip may seem small. But it can waste gallons of water each day.
Pro-Tip: If the drip comes from the base, the seal is likely bad.

2. 🔩 Handle Is Loose or Stuck
If the handle feels stiff, parts inside may be worn out. Fixing small parts helps, but old faucets fail again.
Pro-Tip: If your faucet is over 10 years old, replacing it saves time.
3. 💧 Low Water Pressure
- Low flow may mean dirt inside the faucet.
- Sometimes cleaning helps.
- Sometimes the unit is too old.
Pro-Tip: Remove the aerator first and rinse it before buying new.
Tools You Will Need
Before you start, grab these tools:
- Adjustable wrench
- Phillips screwdriver
- Plumber’s tape
- Bucket
- Towel
- Flashlight
These basic tools make the job easy.
Pro-Tip: Keep a small cup under the pipes to catch water drops.

Step-by-Step: How to Replace Kitchen Faucet
- Follow these steps slowly.
- Do not rush.
Step 1: Turn Off the Water
- Look under your sink.
- Turn both valves to the right.
- Left is hot.
- Right is cold.
Pro-Tip: After turning off, open the faucet to release extra water.
Step 2: Disconnect Water Supply Lines

- Use your wrench to loosen the nuts.
- Turn left to loosen.
- Keep your bucket under the pipe.
- Some water will drip.
This step is key in any kitchen faucet installation.
Pro-Tip: If nuts are stuck, spray a little oil and wait 5 minutes.

Step 3: Remove the Old Faucet
- Find the big nut under the sink.
- This holds the faucet in place.
- Loosen it with your wrench.
- Then lift the faucet out from the top.
Simple.
Pro-Tip: Use a flashlight. It helps a lot in tight spaces.
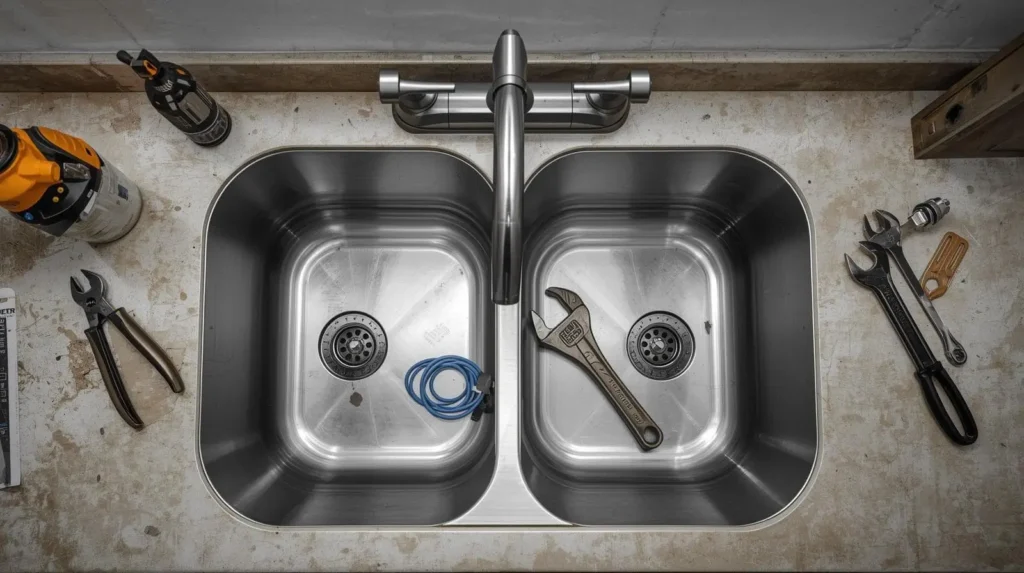
Step 4: Clean the Sink Surface
- Old dirt and seal may stick around the hole.
- Scrape it off gently.
- Wipe clean with a cloth.
- A clean surface stops leaks later.
Pro-Tip: Make sure the area is dry before placing the new faucet.
Step 5: Install the New Faucet
- Place the new faucet into the hole.
- Make sure it sits flat.
- From under the sink, add washers and nuts.
- Tighten with a screwdriver or wrench.
This completes the main kitchen sink faucet replacement step.
Pro-Tip: Ask someone to hold the faucet steady from above.

Step 6: Connect Water Lines
- Wrap plumber’s tape around the threads.
- Screw the hot and cold lines back on.
- Tighten well.
- But do not over-tighten.
Pro-Tip: Red line goes to hot. Blue goes to cold.
Step 7: Turn Water On and Check for Leaks
- Slowly turn the valves back on.
- Watch the pipes closely.
- If you see water drops, tighten the nuts a bit more.
- Let water run for one minute.
- This clears dirt from the lines.
- Now your new faucet is ready.
When Should You Buy a New Kitchen Faucet?
Sometimes, repair is not worth it.
Buy a new one if:
- Faucet is over 10–15 years old
- Rust is visible
- Parts are hard to find
- It leaks again after repair
Modern faucets save water and look better. Many have pull-down sprayers and easy-clean heads.
Look for:
- Stainless steel finish
- Single handle design
- Water-saving label
Pro-Tip: Choose a faucet with good reviews and a strong warranty.
Final Thoughts
Learning how to replace kitchen faucet saves money. It also gives your kitchen a fresh look.
- Take your time.
- Follow each step.
- You do not need to be a plumber.
- Just basic tools and a little patience.
- If you feel unsure, call a local pro.
- Safety always comes first.
