

Yesterday, I saw a kitchen sink that barely pushed out a thin stream of water. The homeowner looked frustrated. She turned the faucet on and said, “Robert, it used to blast water. Now it feels like a slow drip.”
I smiled because I’ve fixed this problem many times in my 15 years doing home repair.
Most people think low pressure means a big plumbing problem. The truth? It usually isn’t.
Most of the time, how to increase water pressure in kitchen sink comes down to a few small issues. A clogged aerator. A blocked valve. A kink in the supply line.
The good news is you can fix many of these in under 20 minutes.
Let me show you exactly how I do it when I’m called to a home.
Why Kitchen Sink Water Pressure Gets Low
Before fixing anything, we need to know why the pressure dropped.
Low water pressure usually happens because something blocks the flow of water.
Here are the most common causes I see in homes:
• Dirty faucet aerator
• Clogged cartridge inside the faucet
• Partly closed shut-off valves
• Bent or clogged supply hoses
• Mineral buildup in pipes
• Old faucet parts wearing out
• Whole-house water pressure problems
Sometimes the fix takes 2 minutes. Other times you need a deeper clean.
Let’s start with the easiest fix first.
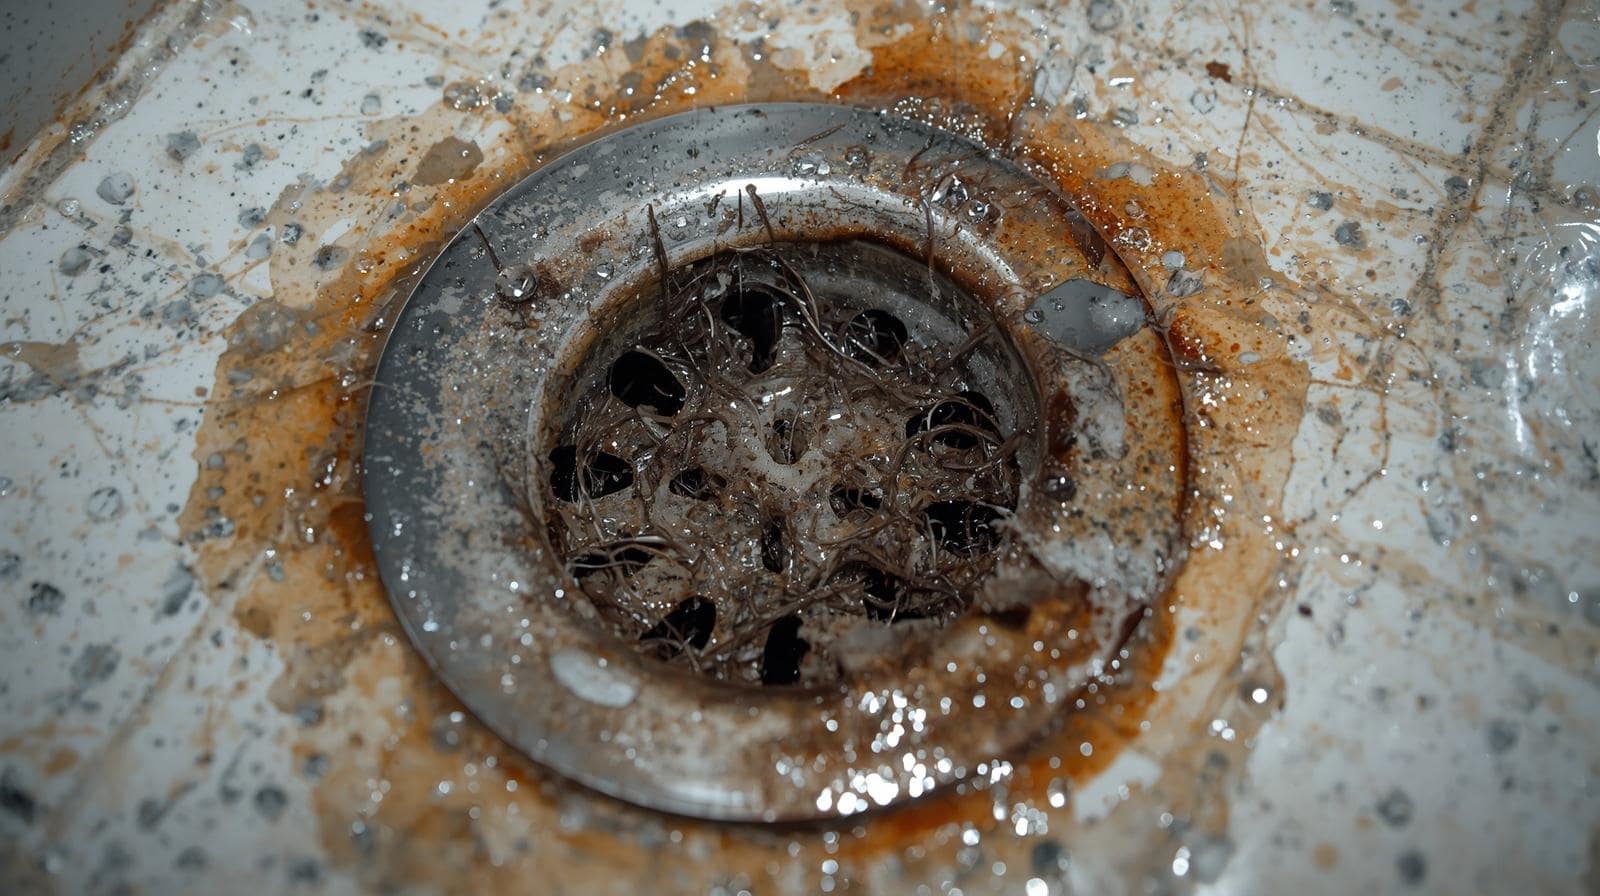

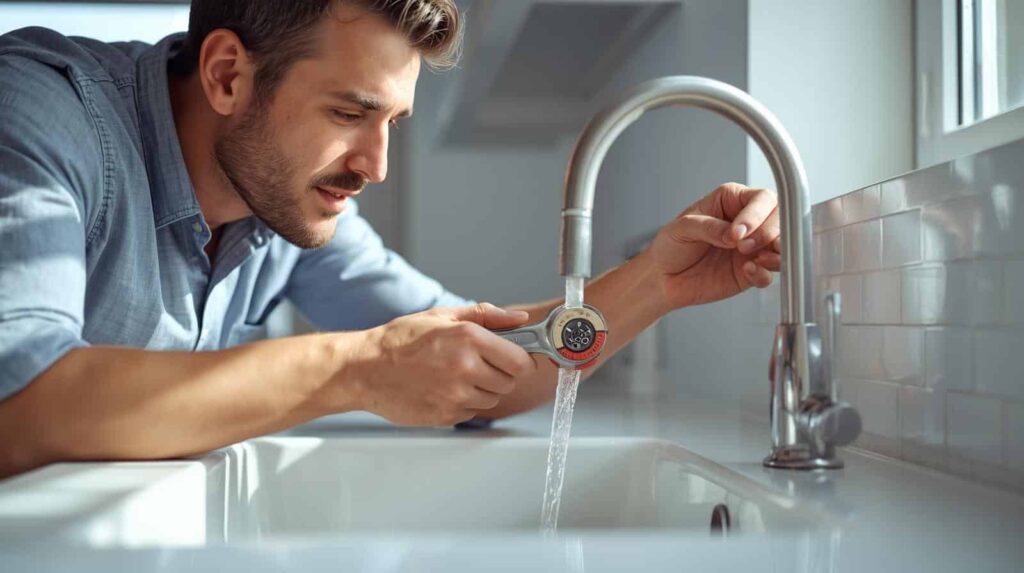
Step 1: Clean the Faucet Aerator (Most Common Fix)
This solves low pressure about 60% of the time.
The aerator is the small screen at the tip of your faucet. Its job is to mix air with water and stop splashing.
Over time it traps:
• sand
• rust
• mineral bits
• pipe debris
That tiny screen gets clogged.
Then the pressure drops.
Here is what I do
- Twist the aerator off the faucet tip
- If it is tight, wrap a cloth around it and use pliers
- Take the screen apart carefully
- Rinse the parts under water
- Use a small brush or toothpick to remove debris
- Put it back together and screw it on
Turn the faucet on.
You might be shocked how strong the flow becomes.
Pro Tip:
Soak the aerator in vinegar for 30 minutes. It melts mineral buildup fast.
Step 2: Check the Shut-Off Valves Under the Sink
Sometimes the problem is hiding right under the sink.
Every kitchen sink has two shut-off valves:
• hot water valve
• cold water valve
If one of them is partly closed, water flow drops.
I’ve seen this happen after someone works under the sink and bumps the valve.
Here is what I do
- Open the cabinet under the sink
- Find the two small valves on the pipes
- Turn each valve counterclockwise
- Make sure they are fully open
Now test the faucet again.

Pro Tip:
Turn the valves off and back on once a year. This stops them from getting stuck.
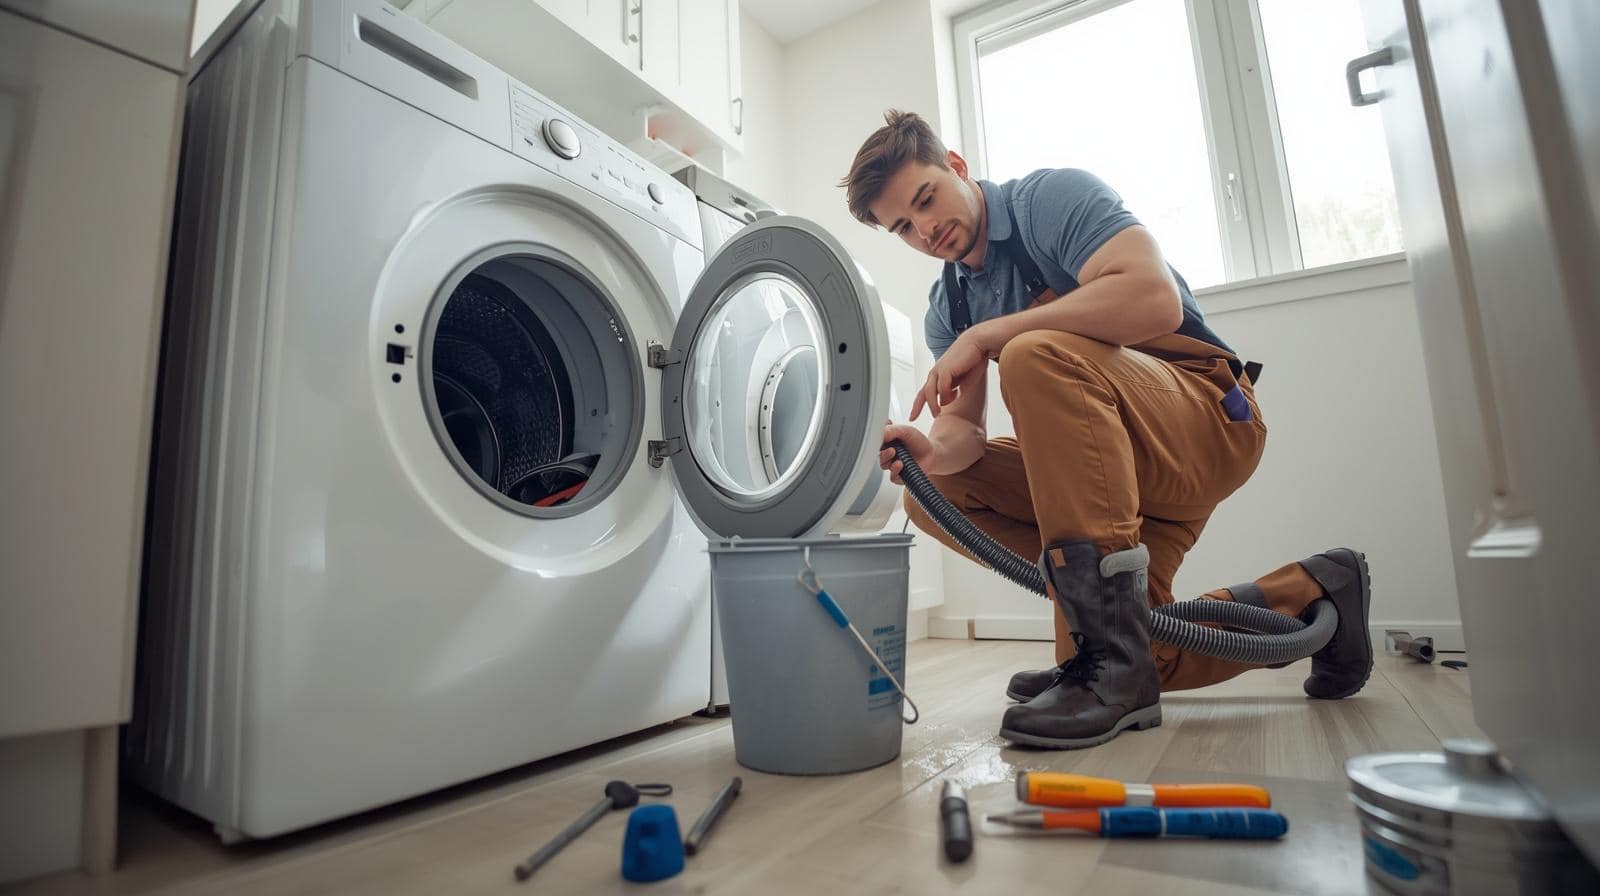

Step 3: Inspect the Water Supply Lines
Next, I look at the supply hoses.
These hoses run from the valves to the faucet.
Sometimes they get:
• bent
• twisted
• clogged
A kink in the hose can cut pressure in half.
How to check
- Look under the sink
- Follow the hose from valve to faucet
- Make sure it isn’t twisted or pinched
If it is bent, straighten it gently.
Pro Tip:
If the hoses are older than 8 years, replace them. New braided hoses improve flow and safety.
Step 4: Flush the Faucet Lines
Debris inside the faucet line can block water flow.
This happens after plumbing work or pipe repairs.
Here is how I flush the lines.
Steps
- Turn off both shut-off valves
- Disconnect the faucet supply hoses
- Place the hose in a bucket
- Turn the valve on for a few seconds
- Let water flush out debris
Reconnect everything and test again.
You might see dirt or sand come out.
That stuff blocks water flow inside the faucet.
Pro Tip:
Place a towel under the bucket. A little water spill is normal.

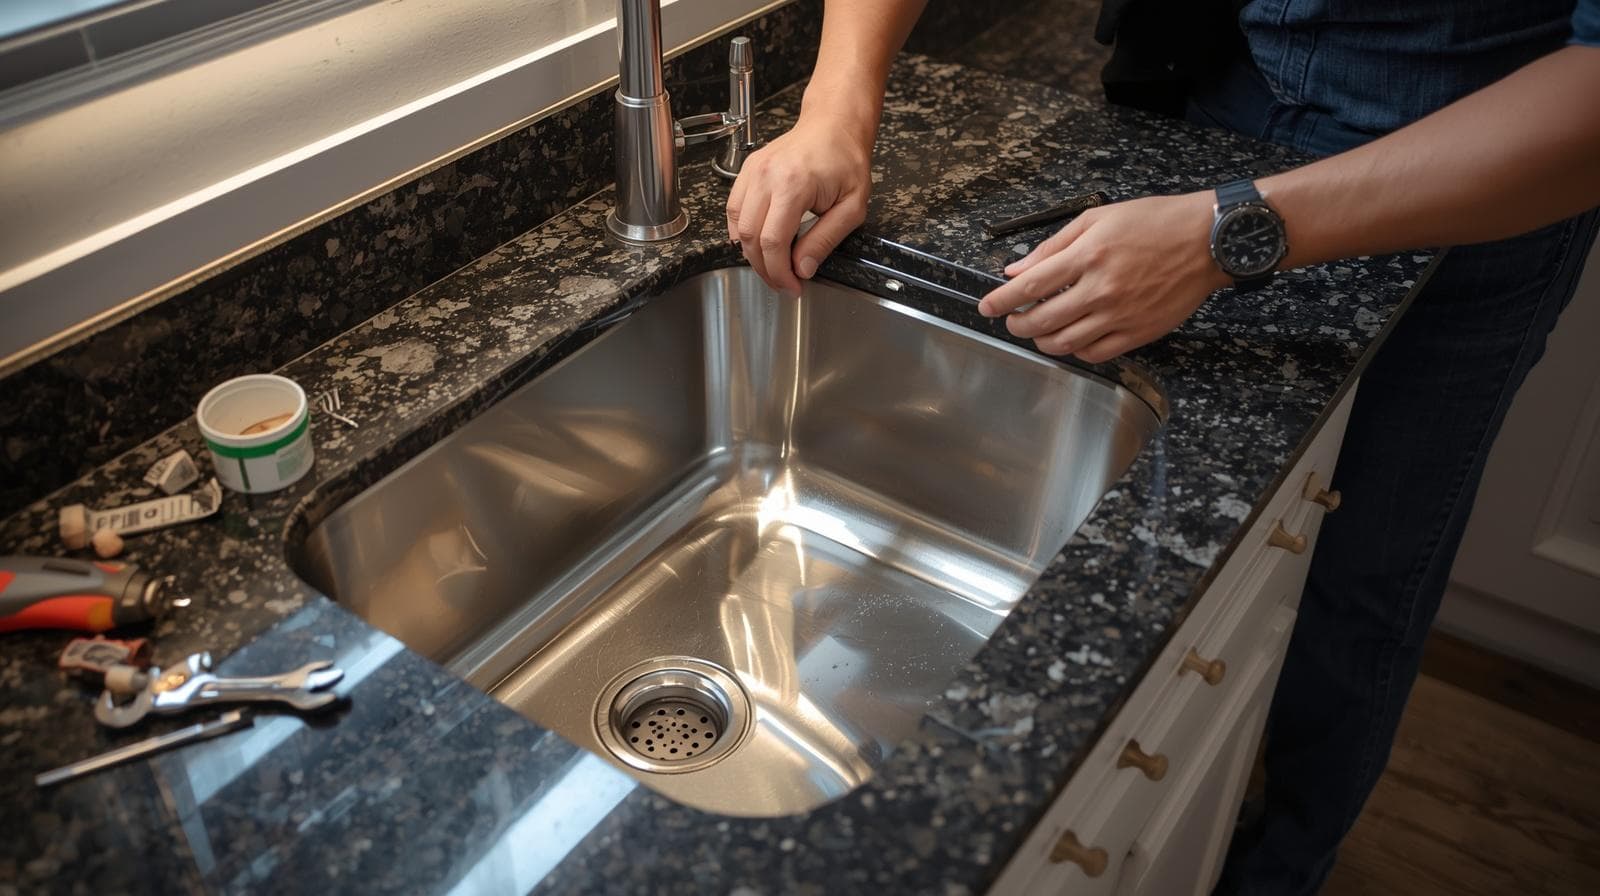

Step 5: Clean or Replace the Faucet Cartridge
- Inside many faucets is a small part called a cartridge.
- It controls water flow and temperature.
- Over time it can clog with mineral buildup.
- When that happens, pressure drops.
Here is what I do
- Turn off the water supply
- Remove the faucet handle
- Pull out the cartridge
- Rinse it clean
- Soak in vinegar if needed
- Reinstall or replace
Once the cartridge is clean, the faucet often flows like new.
Pro Tip:
Take a photo before removing the cartridge. It helps when putting it back.
Step 6: Check Your Home Water Pressure
- Sometimes the problem isn’t the sink at all.
- It’s the house water pressure.
- If every faucet has weak flow, the pressure regulator may be the issue.
- A normal home pressure range is:
- 40–60 PSI.
- Too low and water feels weak.
How to test
- Use a simple water pressure gauge on an outdoor faucet.
- If pressure is low across the house, you may need to adjust the pressure regulator.

Pro Tip:
Many homes hide the regulator near the main water line in the basement or garage.
Step 7: Look for Pipe Mineral Buildup
- Older homes sometimes have mineral buildup inside pipes.
- Hard water leaves calcium deposits.
- Over years, pipes slowly narrow.
- That reduces water pressure at faucets.
Signs of this problem include:
• pressure slowly getting worse
• white crust on fixtures
• low flow in many faucets
Fixing this may require pipe flushing or replacement.
Pro Tip:
Installing a water softener helps prevent buildup.
Safety First Tip
Before working on any plumbing repair:
• Turn off the water supply
• Place a towel under connections
• Never force parts that feel stuck
A cracked pipe can cause a huge mess fast.
Slow and careful wins every time.
Extra Tips to Boost Kitchen Sink Water Pressure
Here are a few tricks I share with homeowners.
Tip 1: Install a High-Flow Aerator
Some aerators restrict water too much.
A 1.5–2.2 GPM aerator gives better pressure feel.
Tip 2: Clean the Aerator Twice a Year
- It takes only two minutes.
- Yet it prevents most pressure issues.
Tip 3: Check for Hidden Leaks
Leaks reduce water pressure.
Look for:
• damp cabinets
• mold smell
• slow drips
Tip 4: Upgrade Old Supply Lines
Braided stainless steel hoses improve water flow and safety.
Common Mistakes Homeowners Make
After fixing sinks for years, I see these mistakes a lot.
Ignoring the Aerator
- Many people replace the faucet before checking the aerator.
- That tiny part is often the real problem.
Over-tightening Plumbing Parts
Too much force can damage threads and seals.
Skipping Valve Checks
A half-closed valve can cut pressure by half.
Quick Summary
- Low water pressure in a kitchen sink is very common.
- Most fixes are simple and fast.
Here is the quick checklist I use:
- Clean the aerator
- Open shut-off valves fully
- Check supply hoses
- Flush faucet lines
- Clean the cartridge
- Test house water pressure
- Replace the faucet if needed
Nine times out of ten, the aerator fix solves it.
FAQ
The aerator or faucet cartridge is usually clogged. Cleaning the aerator often restores full pressure.
Start by removing and cleaning the faucet aerator. It takes only a few minutes and often fixes the issue.
Yes. A blocked aerator restricts water flow and makes the faucet feel weak.
Not always. Try cleaning the aerator and cartridge first. Replace the faucet only if parts are worn or damaged.
Yes. Hard water leaves mineral deposits that clog faucet parts and pipes over time.
